
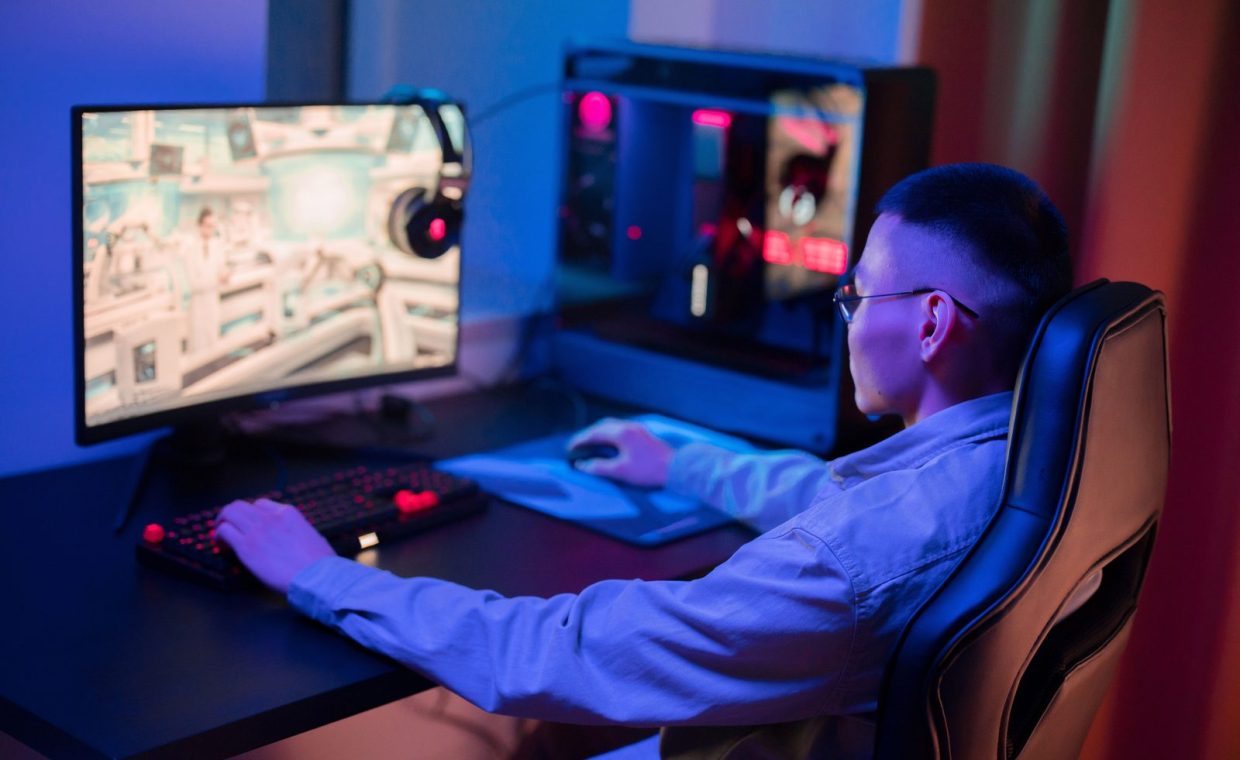
A friend pinged me last week, furious. He had just dropped serious money on a new GPU, and his frame rate in Valorant barely moved. He was convinced he got a dud card.
He did not. His Windows install was the bottleneck. Background apps, an aggressive power plan, and a launcher overlay he forgot existed were quietly eating his gains. We spent about twenty minutes on his machine and his 1% lows jumped enough that he stopped blaming the hardware.
That is the thing nobody tells you after a build or an upgrade. The cheapest performance you will ever find is already sitting in your settings, free, waiting for you to turn it on. So let me walk you through exactly what I do on every fresh Windows install, step by step, with zero registry edits and nothing that voids a warranty.
Update Windows and your GPU driver first
Before you touch a single setting, get the boring updates out of the way. Open Settings, go to Windows Update, and let it finish completely. Reboot if it asks.
Then grab your graphics driver straight from Nvidia or AMD, not from Windows Update. Use the manufacturer's app (GeForce Experience or AMD Adrenalin) or download the installer directly. I do a clean install when given the option, which wipes old profiles that sometimes cause stutter.
Do not chase the absolute newest driver the day it drops. If your games run fine, a driver that is a few weeks old and proven stable beats a brand new one with a known regression. Check the release notes before you click install.
Flip the power plan to High Performance
This is the single biggest free win on a lot of laptops and even some desktops. Windows defaults to a Balanced plan that throttles your CPU to save a few watts, and that throttling can cost you real frames in CPU-heavy games like Baldur's Gate 3 or a packed Valorant lobby.
Search for "Edit power plan" in the Start menu, open Power Options, and select High Performance. If you are on a recent build and only see Balanced, search for "Choose a power plan" or set the power mode slider in Settings to Best Performance.
On a desktop this costs you nothing but a bit of idle power draw. On a gaming laptop, keep it plugged in while you play, because this plan will burn through a battery fast.
Clear out startup and background apps
Open Task Manager (Ctrl plus Shift plus Esc), click the Startup apps tab, and look at what launches when you boot. This is usually a graveyard of stuff you installed once and forgot. Disable anything you do not actively need running the moment Windows loads.
Common offenders: chat clients, RGB software, printer helpers, cloud sync tools, and three different game launchers all phoning home at once. Disabling them on startup does not uninstall them. You can still open them whenever you want.
RAM that sits unused is wasted RAM, so do not panic at a high memory number on its own. The real cost from background apps is CPU cycles and disk activity mid-match, which is what causes those annoying micro-stutters in the middle of a fight.
Background app permissions
While you are in Settings, go to Apps and check which programs are allowed to run in the background. Strip the list down to essentials. Your weather widget does not need to wake up during a ranked game.
Turn on the gaming-specific switches Windows already gives you
Windows ships with a couple of features built for exactly this, and most people never flip them on.
First, Game Mode. Go to Settings, Gaming, Game Mode, and turn it on. It tells Windows to deprioritize background tasks while you play and hold off on driver installs and updates mid-session. The effect is modest on a strong rig but genuinely helps on tighter hardware.
Second, Hardware-Accelerated GPU Scheduling. Find it under Settings, System, Display, Graphics, then Change default graphics settings. Toggle it on and reboot. It can shave a little latency on modern GPUs. If you ever see new stutter after enabling it, just turn it back off. It is fully reversible.
You will see YouTubers telling you to disable Fullscreen Optimizations, mess with the registry, or run "debloat" scripts that rip out Windows components. Avoid that whole category. The frame gains are tiny or imaginary, and a bad script can leave you reinstalling Windows on a Saturday night. Everything covered here is safe and undoable.
Manage storage so your game library is not the holdup
A nearly full drive slows down, and a slow drive shows up as long load times and texture pop-in. Keep your boot drive with some breathing room, ideally 15 to 20 percent free.
If your games live on an old spinning hard drive, moving your most-played titles to an SSD is the upgrade I recommend before almost anything else. A budget SATA SSD at around $50 will do more for your load times in Elden Ring than a flashy cooler ever will. Steam lets you move installed games between drives without redownloading, so it is painless.
Turn off Storage Sense if you do not want Windows automatically deleting temp files at odd times, or leave it on if you like the tidiness. Either is fine. Just do not let a 98 percent full drive sit there.
Kill the overlays you are not actually using
Overlays are the silent frame thieves. Steam overlay, Discord overlay, GeForce Experience overlay, the Xbox Game Bar, and any vendor RGB overlay can each nibble a few frames and, worse, cause input lag or stutter when two of them fight.
Pick the one overlay you genuinely use, usually Discord for voice, and disable the rest per app. I keep Game Bar off entirely unless I need its built-in recorder. You can always re-enable any of them in seconds.
Update drivers cleanly, set High Performance power, trim startup and background apps, enable Game Mode and GPU Scheduling, leave headroom on your drive, and disable overlays you do not use. None of it costs money or risks your system.
Tidy the physical side too
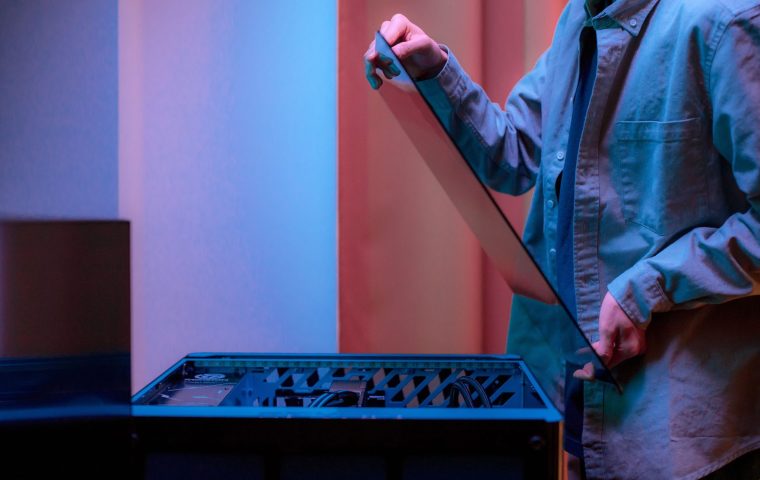
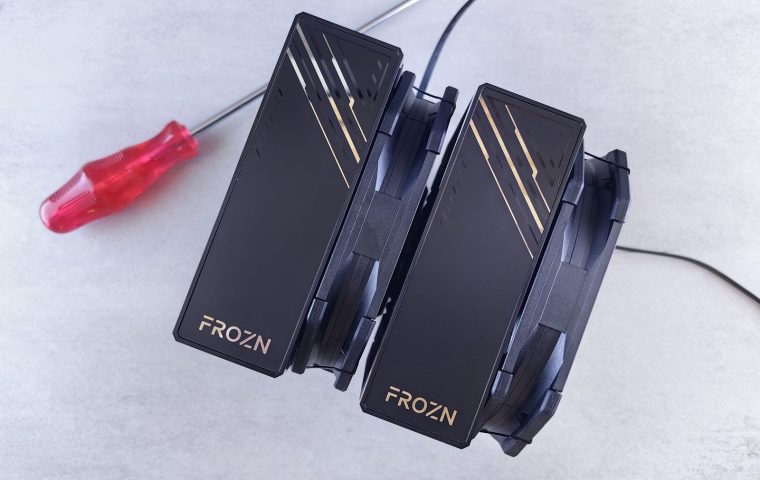
Software is only half the picture. A machine choked with dust thermal-throttles, and a throttling CPU or GPU quietly drops clocks mid-game no matter how clean your Windows install is. Blow out the dust filters every few months and make sure your case fans actually have airflow.
Airflow is also where a messy interior bites you, so if your build looks like a bird's nest inside, fixing your most common cable management mistakes can lower temps a couple of degrees for free. While you are optimizing the desk, getting your displays dialed in matters too, and a clean dual monitor setup for gaming keeps Discord and your browser off your primary screen so the GPU is not rendering distractions over your game.
Peripherals factor in as well. If you are chasing responsiveness, the difference between mechanical and membrane keyboards changes how fast your inputs register, and that feel matters as much as a handful of frames in a twitchy shooter.
A realistic before-and-after
Here is roughly what my friend's numbers looked like on the same hardware, before and after the steps above. Treat these as illustrative, not a benchmark you should expect to match exactly.
| Tweak | Effort | Typical payoff |
|---|---|---|
| Clean GPU driver install | 10 minutes | Fewer stutters, stable frames |
| High Performance power plan | 1 minute | Better 1% lows on CPU-bound games |
| Trim startup and overlays | 10 minutes | Smoother mid-match, less input lag |
| Move library to an SSD | Around $50 | Much faster load times |
Do I really need third-party "game booster" apps?
No. Most of them just toggle the same settings you can flip yourself, and some add their own background process that does the opposite of what you wanted. Stick to the built-in Windows options covered here and skip the boosters.
Will these changes help on a low-end PC or a handheld like the Steam Deck?
The Windows steps help most on tighter hardware, where freeing CPU cycles and overlays makes a real difference. A Steam Deck runs its own SteamOS, so the Windows tweaks do not apply there, but the storage and thermal advice still does.
Is editing the registry worth it for extra frames?
For the vast majority of players, no. The safe settings covered here capture nearly all the available gains, and a wrong registry edit can break things in ways that are tedious to undo. Save that depth for when you genuinely have nothing left to tune.
Run through these once on a fresh install and you will rarely need to touch them again. The whole point is steady, smoother frames without gambling your stability on a sketchy script. Do the free stuff first, measure with your own eyes in a game you actually play, and only then start eyeing new parts. Your wallet will thank you.