
A friend of mine, call him Dev, spent two whole evenings convinced his brand new GPU was dead. Black screen on boot, no display, the kind of silence that makes your stomach drop after you just dropped a few hundred on parts. The card was fine. He had plugged his monitor into the motherboard's HDMI port instead of the graphics card, which is the single most common rookie boot mistake I have ever seen.
I have built maybe forty machines over the years, for myself and for people who paid me in pizza. The mistakes are almost always the same handful, and almost none of them cost real money to fix. They cost time, frustration, and sometimes a return shipping label.
So let me walk you through the errors that eat first-time builders alive, why each one stings, and the cheap fix that gets you back on track. None of this requires being a hardware wizard. It just requires knowing where the traps are.
Buying a Big GPU and Pairing It With a Weak CPU
First-time builders love spending on the graphics card, and honestly I respect that. The GPU is the part that actually moves your frame rate in most games. But I see people grab a beefy modern GPU and then pair it with the cheapest processor they can find, then wonder why their frames stutter in busy scenes.
This is a bottleneck, and it shows up worst in CPU-heavy games. Think the late game of a strategy title, a packed lobby in Valorant, or the crowded hub areas in Baldur's Gate 3. Your fancy card sits there bored while the CPU chokes.
You do not need a top-tier CPU. You need a balanced one. A solid mid-range six or eight core chip keeps a strong GPU fed without you overpaying. Spend the savings on faster RAM or an extra SSD instead.
Skimping on the Power Supply
The PSU is the most boring part in the box, so it is the first place beginners cut corners. I get it. Nobody brags about their power supply. But a cheap, no-name unit is the part most likely to take other components down with it when it fails.
An underpowered or low-quality PSU causes random restarts, crashes under load, and the occasional sad smell of burnt electronics. You will spend hours blaming your GPU, your RAM, your drivers, everything except the actual culprit.
Buy a unit from a reputable brand with an 80 Plus rating and a little headroom over what your build draws. If your parts pull around 450 watts, a quality 650 watt unit gives you breathing room and runs cooler and quieter. This is one place where the cheapest option is genuinely the expensive option.
Forgetting the Tiny Stuff That Stops a Boot
Here is where Dev lost his two evenings. The small connection mistakes are responsible for most "my PC won't turn on" panics, and not one of them costs a cent.
The usual suspects
- Monitor plugged into the motherboard instead of the GPU.
- The 8-pin CPU power cable left unplugged at the top of the board.
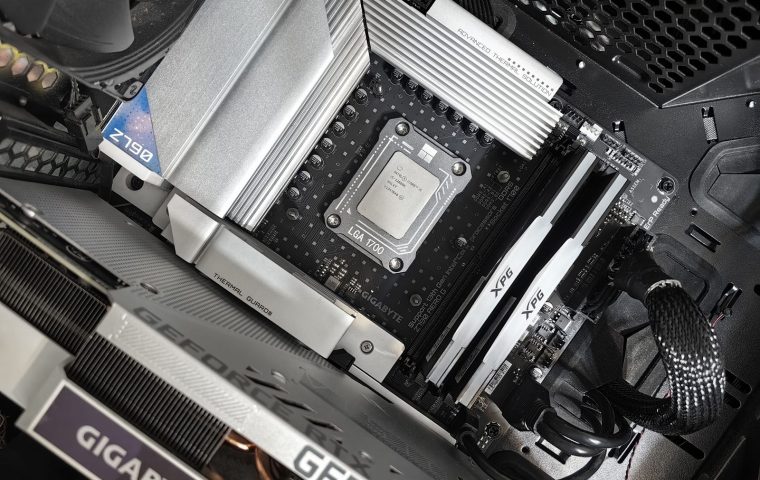
- RAM not pushed in hard enough, so it sits one click short of seated.
- Front panel power button header wired to the wrong pins.
RAM is the sneakiest one. It takes more force than feels right. You push, you hear one click, you assume it is in, and the machine refuses to post. Press until both clips snap shut and the stick is dead level.
I know, nobody wants to. But your motherboard manual has a labeled diagram for every header and slot, including which two RAM slots to use first if you only have two sticks. Skipping it is how people fight their PC for hours over a thirty second fix.
Treating Cooling and Airflow as an Afterthought
Beginners obsess over which CPU cooler looks coolest and ignore case airflow entirely. Then the system thermal throttles, frames tank during long sessions, and the fans scream like a jet on takeoff.
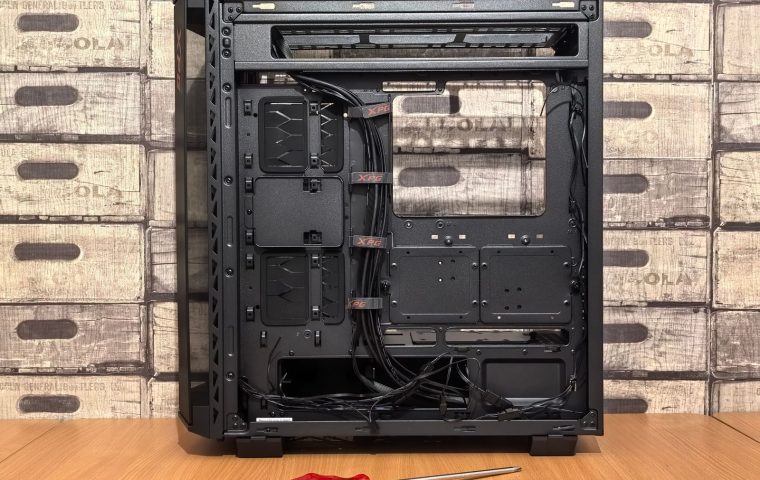
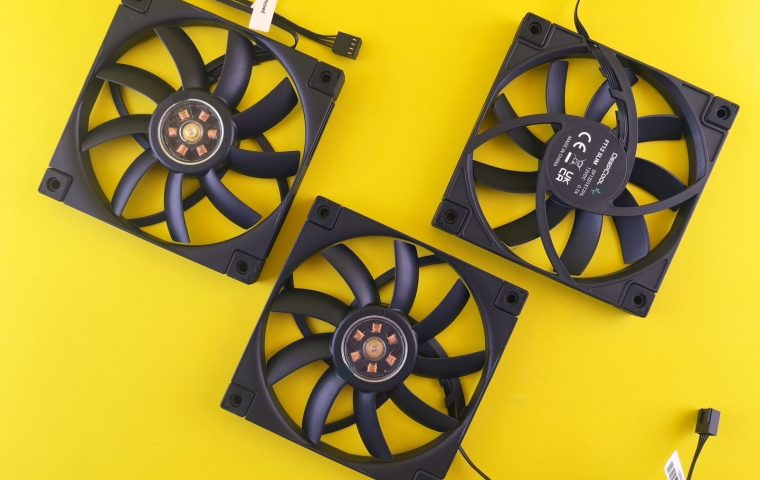
The fix is cheap and mostly about direction, not money. Set up your case fans so cool air comes in the front and bottom, and hot air leaves the back and top. Two or three decent fans pointed the right way beat six expensive RGB fans fighting each other.
If the noise is what bothers you, that is its own solvable problem. I wrote a full breakdown on how to cut the noise out of a gaming PC without spending on exotic parts, and most of it comes down to fan placement and sane fan curves rather than throwing money at the problem.
Overpaying for the Wrong Parts to Save Frames
This is the one that hurts my benchmark-loving heart. New builders pour money into parts that barely touch performance while ignoring the cheap upgrades that actually help.
The classic example is RGB. Lights are fun, I am not a monster, but a stack of glowing fans does nothing for your frame rate. Meanwhile a slightly faster RAM kit or a better cooler often costs the same and actually moves numbers.
| Tempting buy | Smarter spend | Why it matters |
|---|---|---|
| Premium RGB fan set | One extra SSD | Faster load times you feel every session |
| Top-tier CPU for esports titles | A high refresh 1440p monitor | Competitive games are GPU and display bound, not CPU bound |
| Flashy mechanical keyboard you saw on stream | A clean, low-latency mouse and pad | Aim consistency over looks |
Before you spend, figure out where your money buys actual performance. If you are chasing value, a careful look at the best budget gaming gear worth owning will save you from the shiny stuff that looks great and does nothing.
Ignoring the Monitor and Latency Side of the Build
People drop a thousand on the tower and then plug it into a tired old 60Hz monitor they had lying around. That is like buying a sports car and driving it in a school zone. Your hardware is producing frames the display can never show you.
For fast games, a 144Hz or higher panel is the upgrade most beginners feel immediately. Even at 1080p, the jump from 60Hz to high refresh is more noticeable than most GPU upgrades.
And while you are at it, do not let invisible delay rob your reaction time. There is a whole stack of small settings that matter here, and learning how to lower input lag across your setup is free performance most people leave on the table. Enable the right monitor mode, cap your frame rate sensibly, and use a wired connection for your mouse.
Buying Everything at Once Without a Plan
The last big mistake is impulse. Someone gets excited, opens fifteen browser tabs, and buys parts piecemeal across a weekend. Then the RAM does not fit under the cooler, the GPU is too long for the case, or the CPU and motherboard sockets do not match at all.
This wastes the most money of anything on this list, because returns are a pain and restocking fees are real. A mismatched socket means a part you cannot use sitting in a box.
Build your full parts list in a compatibility checker before you spend a dollar. It flags socket mismatches, wattage shortfalls, and clearance problems automatically. Ten minutes of planning saves you a week of returns.
Measure twice, order once. It is the oldest advice in building anything, and it applies just as much to a gaming rig as a bookshelf.
What is the single most common first-build mistake?
Plugging the monitor into the motherboard instead of the graphics card. It gives you a black screen on boot and convinces new builders their GPU is dead when everything is actually fine.
Is it worth spending more on a power supply?
Yes. A quality unit with an 80 Plus rating and some headroom protects every other part in the build. A cheap PSU is the part most likely to fail and drag your other components down with it.
Where should a beginner spend money to actually gain frames?
A balanced GPU and CPU pairing first, then a high refresh monitor for fast games. Skip premium RGB and flashy peripherals until the core that produces and displays frames is sorted.
Your first build is supposed to feel a little nerve-wracking, and that is fine. Go slow, read the headers, and put your money where it moves frames instead of where it glows. Get those right and you will spend your first night gaming instead of troubleshooting, which is the whole point.